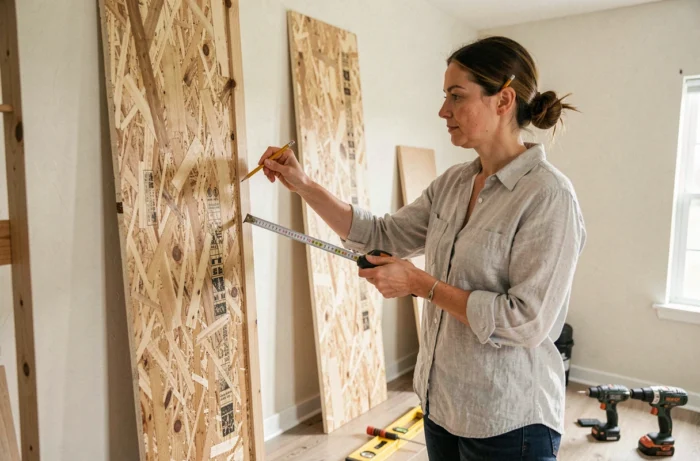
When setting up a dressing room, the shelves and wardrobes capture all the attention. The side panel, which closes the furniture on the side, often takes a back seat. This is a mistake: a poorly installed or poorly secured side panel compromises the stability of the whole unit and gives an unsteady appearance.
Thickness and material of the dressing side panel: what really changes
Melamine board remains the most common material for a dressing side panel. It comes in several thicknesses, including 16, 19, 28, and 38 mm. The instinct might be to choose the thinnest one to save space, but this choice depends on the height of the panel and what it will need to support.
Why does thickness matter so much? A 16 mm panel is suitable for a short side panel, for example, under a countertop or for a low cabinet. As soon as the side panel reaches the height of a room (approximately from floor to ceiling), a minimum 19 mm panel prevents warping. If the side panel directly supports shelves loaded with linens, a 28 mm panel offers significantly greater rigidity.
The choice is not limited to color or decor. Also check the compatibility with the edge banding and fixing accessories you plan to use: an edge band designed for 19 mm will not properly cover a 16 mm panel.
If you are concerned about cutting, some providers offer cutting, drilling, grooving, and edge banding in their workshop. The pieces arrive labeled according to your project, which significantly reduces the risks of chipping or measurement errors. A detailed guide allows you to fix a dressing side panel on the GPSO site by following the preparation and installation steps.
Protecting the edge after cutting: ABS or wood edge banding
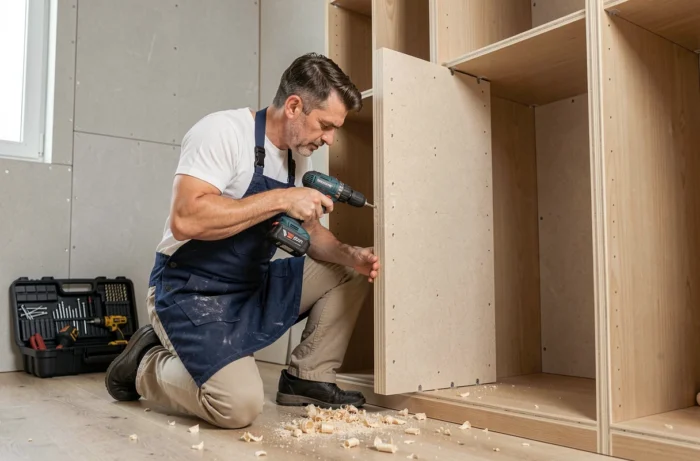
You may have noticed that a cut melamine panel has a raw, rough edge that is a different color from the surface? This exposed edge is the weak point of the panel. Water that seeps into the edge causes irreversible swelling of the particle board.
Even in a bedroom, ambient humidity is enough to weaken this area over several months. In a bathroom or laundry room, the risk is even greater.
The solution: apply edge banding immediately after cutting. Two common options:
- The ABS edge banding, thin and heat-activated, can be applied with a domestic iron. It withstands everyday impacts well and comes in a wide range of decors matching the melamine.
- The real wood edge banding provides a more refined finish but requires careful gluing and slight sanding after application for a clean result.
- Some dressing kits include pre-glued edges: check this point before purchasing separately.
Apply the edge to all visible and accessible edges, including those facing the wall if the side panel is not perfectly flush. A gap of a few millimeters is enough to allow moisture to pass through.
Securing the side panel to the wall: a matter of safety, not finish
Many DIYers place the side panel on the floor, brace it against the wall, and move on. The side panel stands upright, and the dressing seems stable. Until the day a loaded drawer is opened suddenly, or a child hangs onto a shelf.
Securing the side panel to the wall prevents the entire piece of furniture from tipping over. Furniture with drawers, doors, or shelves can tip if an unbalanced load is applied. This fixation is not a luxury for carpenters; it is a full safety measure.
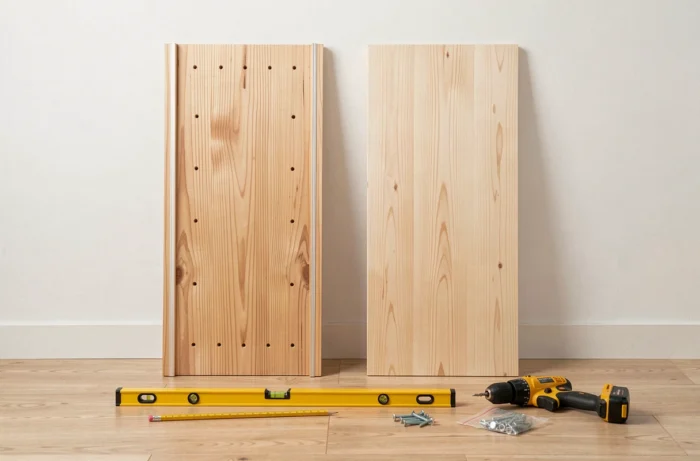
Choosing the right fixing method according to the wall support
Before drilling, identify your wall. A drywall (plasterboard on a frame) does not fix like a solid brick or concrete wall.
- On solid walls (brick, concrete, block): standard expansion plugs and sufficiently long screws ensure a solid anchor. Aim for a stud if possible.
- On drywall: use Molly bolts or toggle bolts, capable of supporting lateral weight. If you can locate a metal stud behind the drywall, fix the side panel directly to it.
- On old walls (stone, cob): drill with an appropriate bit and prefer chemical anchoring plugs for durable support in irregular materials.
The ideal is to secure the side panel at least in two points: one at the top, one at the bottom. Two fixing points distributed along the height prevent the panel from rotating.
Brackets or invisible fixing
Metal brackets are the quickest solution. They are screwed to the back of the side panel and to the wall, remaining hidden once the dressing is filled. For a more discreet finish, wall hanging brackets allow you to suspend the side panel without visible hardware from inside the dressing.
If you prefer to avoid brackets, another technique is to screw a horizontal batten to the wall, then press the side panel against this batten and secure it from inside the cabinet. The batten disappears behind the furniture.
Adjusting the side panel to the floor and ceiling without redoing the entire installation
Floors and ceilings are almost never perfectly straight. A gap of a few millimeters between the top of the side panel and the ceiling is immediately noticeable. On the floor, uneven tiles can cause the whole unit to wobble.
Install the side panel and check the plumb with a level before any fixing. If the floor is not level, slide shims under the base of the panel until verticality is achieved. These shims can be wood scraps or adjustable plastic shims sold at hardware stores.
At the top, if a gap appears between the side panel and the ceiling, a corner or finishing molding can mask the gap. Avoid forcing the side panel against an uneven ceiling: the pressure could warp the panel along its entire height.
One last often overlooked point: if your dressing has two side panels (one on each side), measure the gap between them at the top and bottom. An identical gap at the top and bottom ensures that shelves and hanging rods fit without forcing. A one-millimeter difference in width results in a drawer that sticks or a rod that falls.